I love beer. When given the choice between quitting coffee or beer I chose to give up coffee. That’s how much I love beer. I’ve known several people to brew their own beer and I was fascinated. So for over a year now I’ve been discussing with various people about brewing my own beer.
The husband also loves beer, but not enough to brew his own beer. So I was in need of a partner in crime. Enter my parents. Apparently the beer-loving apple didn’t fall too far from the tree.
Bryan and I willingly drank beer to collect bottles. We collected just a few.
After a little research I purchased an Everyday IPA from the Brooklyn Brew Shop. We with the all-grain method for our first try. This is before we knew the difference between all grain and extract brewing. For a first time home brewer I would recommend trying extract brewing. It takes out a few steps. But I’m definitely not disappointed in our decision, we just made a bit more challenging.
The first thing to know about home brewing is sanitation. Its very important. Sanitize everything.
We first set out to brew on a random Saturday, but once we started reading the instructions and looking at the bag of grain we reazlied that we didn’t have a pot big enough. So we instead of brewing that day we went to oru favorite local kitchen supply store, Lit, and stocked up on the biggest pot I’ve ever seen as well as a few other items.
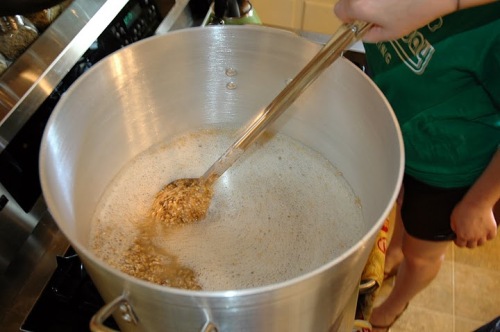
On our second day of attempting brewing we were prepared. Above is Mom sanitizing big pot.
I won’t get into specifics here, you can look up all the details on home brewing online or using the instructions that come with your own kit.
Basically you heat up some water and add the grain. This is like making a big batch of oatmeal.
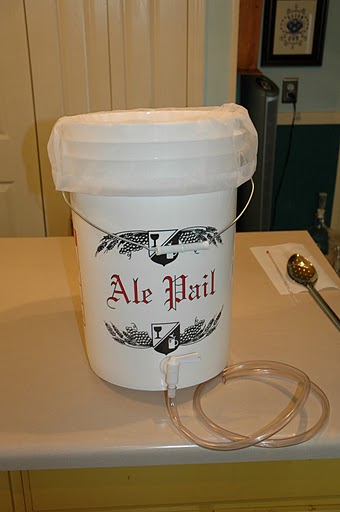
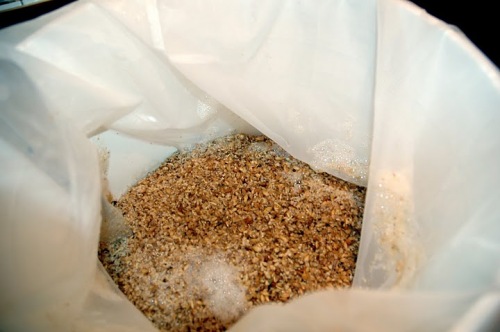
Once that has been cooked and stired for about an hour or so (I think… I’m a bit fuzzy on the details now) You have to strain the grain out. We did this by pouring the contacts of big pot into our “Ale Pail” and straining the grain out by a handy bag that came with our kit. Once it was strained we siphoned the liquid back into big pot and then did it again.
Once you’re done that put the wort ( the liquid) back into the big pot. This will cook for another hour or so and you’ll add in your hops during this time. It will look like this:
After cooking it was time to cool it down. Since the pot was so large and it was 100 degrees outside and my house does not have central AC, this posed a big problem. It took the bath tub, 7 bags of ice and various frozen contents of my freezer to bring the temperature down.
Once it was cooled it was time to put the wort into the carboyl where it will rest with yeast for two – three weeks.
This little thing hid in our basement for two weeks. Fortunately there was no explosions. We chose the basement for several reasons. 1) If it did explode it wouldn’t ruin anything in the house. 2) It needed a cool, dark place. The coolest and darkest place in our house right now is the basement. 3) It gave us an excuse to go down there… it had been a year and a half since I’d been down there.
The thing about home brewing is the waiting. First we had to wait for the kit to arrive and then wait two weeks for it to mingle with the yeast. After bottling you have to wait another two-three weeks before getting to sample. The whole process takes four to five weeks. Sometimes longer depending on the type of beer.


Pingback: Home Brewing 101 Part 2 « Rachel Cooks Everything